Easy Out Kit
Your Confidence & Removal Companion
Step-by-step guidance to confident, leak-free living

So, you found us, you're intrigued by our Urinary Incontinence products, but a big question lingers - how do you use them?!
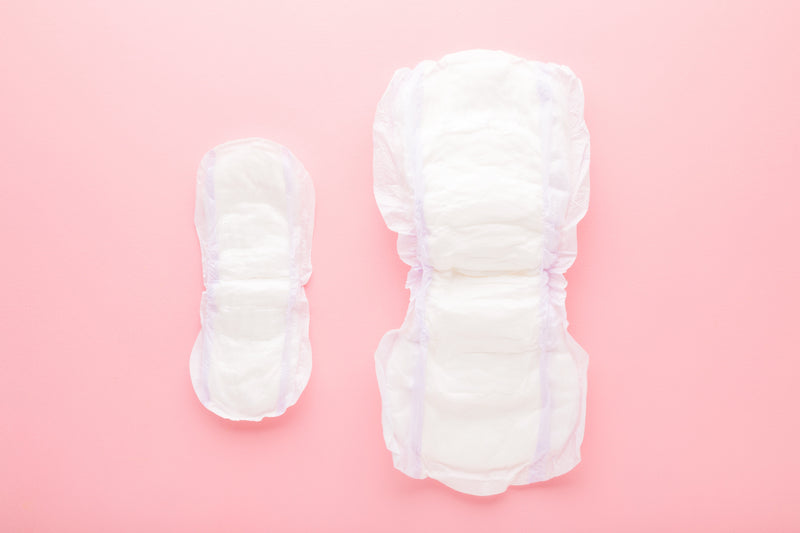
Before we start, we want to thank you for exploring and participating in the conversation around bladder leaks - and for moving away from the outdated, bulky and unsustainable incontinence pads and undies.
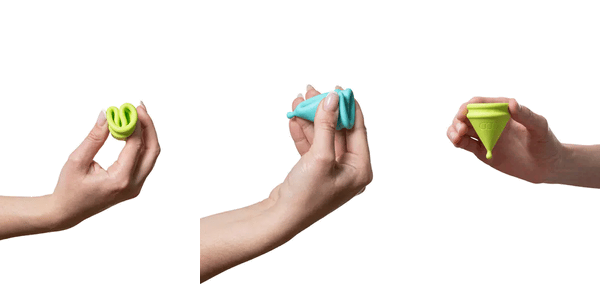
Follow these simple steps at your own pace. Most women get comfortable within 2-3 tries.
Always wash them and your Coo-Wee before anything. Clean hands = comfortable experience.
Find a position that's comfortable and relaxing for you. Most women find squatting as if you were inserting a tampon a good start! Like anything new, the more you relax and practice, the easier it'll become.
You will need to fold your Coo-Wee into a 'U' shape. Firmly hold the sides of your Coo-Wee with the locating tip facing down. With the round end facing towards your pubic bone, insert the Coo-Wee into your vagina. Do not aim straight up, aim back and towards your tailbone as you would with a tampon.
This will be different for all women, however as a guide, you should not feel your Coo-Wee once placed. If you can feel the locating tip in your vaginal opening, it is not inserted far enough. Finding the right position may take a little getting used to, but as they say, practice makes perfect!
Proper insertion is important. Make sure Coo-Wee opens fully after finding your comfy spot. To be sure it has opened correctly, simply give your Coo-Wee a small rotation. You can also squeeze the pressure rings (not the locating tip) and pull-down slightly to create the seal. You may feel a small 'POP' when Coo-Wee opens. This is confirmation that it has opened fully. Great job!
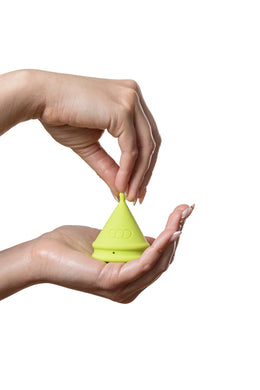
These simple steps will guide you through the process.
Just as easy as insertion. Take your time and stay relaxed.
This step is as important during removal as when you insert your Coo-Wee. Take a deep breath and get comfortable.
Use the locating tip to get a grip on your Coo-Wee. Now bear in mind that your Coo-Wee may have travelled a little north during the day, but don't worry, you've got this! A squatting position will also assist to bring Coo-Wee to you.
Hold the locating tip with your thumb and second finger. With your index finger extended to be level with the rings, press inward on Coo-Wee to deform the shape, break the seal and remove slowly.
Once it's out, be sure to wash your Coo-Wee with warm water and then it's ready to use again the next day. You can use a single Coo-Wee for up to one year, meaning you are saving money and the environment by switching to a more sustainable option than incontinence pads and undies. A win-win for you and the planet!
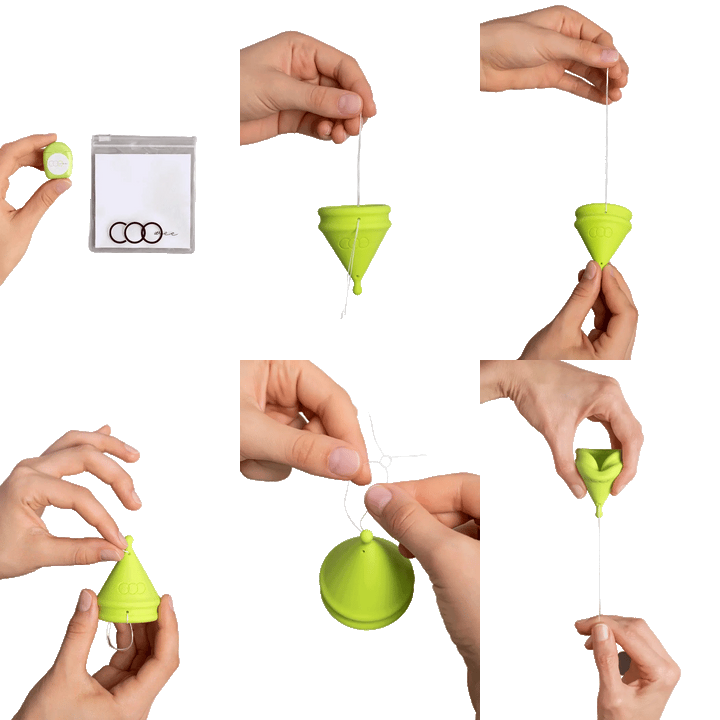
Extra peace of mind for easy removal - like a tampon string!
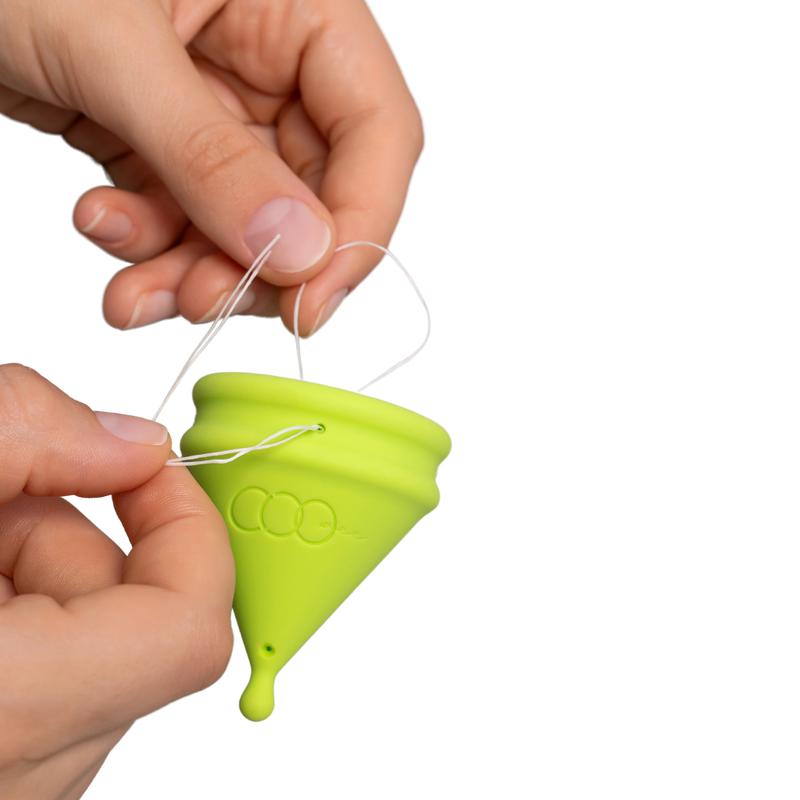
Remove the Easy Out medical thread from your Coo-Wee packaging. Cut a 30-40mm length and fold it in half to create a pointed end for easier threading.
Find the small perforation hole along the rim of your Coo-Wee (just above the logo). Feed the folded thread through this hole, create a loop around the rim, and pull tight to secure.
Take the tail end of the thread and push it through the perforation hole at the base of your Coo-Wee (near the locating tip). Tip: Turn your Coo-Wee inside out to make this easier. Pull the thread through and ensure it's tight against the rim.
Tie the tail end with a secure double knot to prevent it from pulling through during removal.

Your Confidence & Removal Companion
Got questions about using your Coo-Wee? You're not alone! Here are the answers to the most common questions from women who are starting their leak-free journey.
You can wear your Coo-Wee for up to 12 hours at a time. Many women insert it in the morning and remove it at night, or even the next morning.
Don't panic! Your Coo-Wee comes with an Easy-Out Kit that works like a tampon string. If you're still having trouble, try a squatting position to help bring it down, and remember to pinch the body (not pull the tip) to break the seal.
You shouldn't feel your Coo-Wee once it's properly placed. If you can feel the locating tip in your vaginal opening, it needs to go in further. You may hear a small "pop" when it opens fully - that's your confirmation!
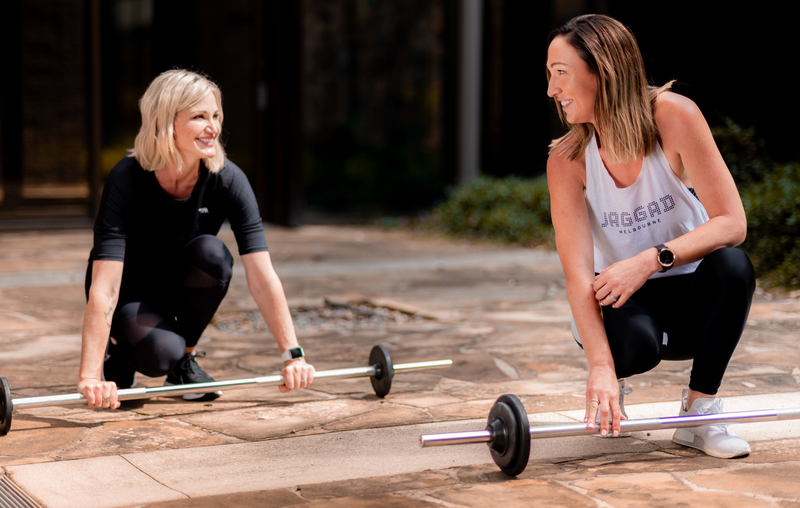
Yes! Coo-Wee is designed for active lifestyles. You can swim, exercise, and participate in sports. Choose the right firmness level for your activity - On the Run for high-impact exercise, On the Go for moderate activities.
No, Coo-Wee is designed specifically for urinary incontinence, not menstrual flow. Use your regular period products during menstruation.
Simply wash with warm water after each use. Your Coo-Wee will be ready to use again the next day.
Absolutely! Coo-Wee comes with a discreet carrying bag and is perfect for travel. It provides all-day confidence whether you're on long flights, sightseeing, or can't access toilets easily.
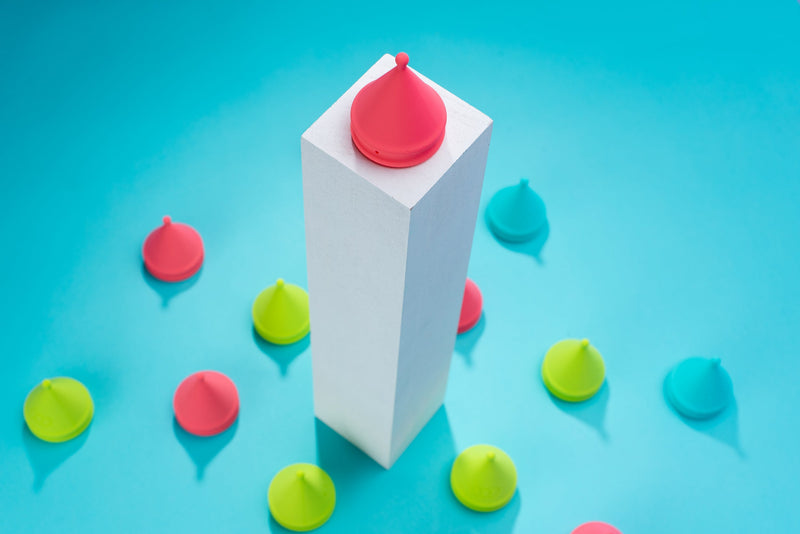
Soft 'n' Easy™: Light daily activities, sensitive users, or beginners
On the Go™: Medium support for low-impact exercise like yoga, walking, pilates
On the Run™: Maximum support for high-impact activities like running, HIIT classes
Trial Pack: Try all three to find your perfect fit
If you have conditions like prolapse, IUD, pessary, or limited hand dexterity, Coo-Wee may not be suitable. Always consult your GP or pelvic floor specialist if you're unsure.
Yes! Coo-Wee is TGA-listed and made from medical-grade silicone. It's designed for daily use and can be reused for up to one year.
Take our quick 60-second quiz to find your perfect match based on your lifestyle and needs.
"Coo-Wee has enabled me to jump on the trampoline with my kids, run for that early train in the morning, laugh with my work mates and safely cough or sneeze with total confidence. It has honestly changed my life!"
"After years of research, design, and consultation with medical experts, I'm proud that Coo-Wee allows women to build the confidence to #ditchthepad forever!"
"The detailed clinical evaluation found that based on comparable devices, the benefits of Coo-Wee in allowing women to effectively self-manage urinary leakage are significant with excellent safety."
Explore our latest articles, guides, and insights to help you stay informed and inspired.
